
Maxim, would love to see photos of your system and room.Sizes: not a significant changes, all LF modes are still about same.
Wall covering with more thick plasterboard will slightly change LF and midrange absorption.
Indeed simulation and measurements will not show anything reasonable for double layer. Here you are fine with more thick layers/wall weight.
Why I wrote here is that I see your before/after REW graphs with damn big amount of VPRs that does not eliminate main problem.
They absorb a lot of energy in 150-1500Hz, while leave a big and untouched bump on a region where you have main problem - quite low frequencies around 50Hz which you can eliminate only with a tuned bass-traps.
Damped 150-1500Hz: that is important area where you could have natural decay if sidewalls will be inclined and floor plane will be non-rectangular.
Interior items like chairs, sofas, humans, carpets, furniture do absorption in that area, and once your finish your room it will make additional abortion in this area, and you will get real problem that room will be overdamped in a specific frequencies.
Means you need to add a lot of diffusion with a different amounts on a different frequencies, and it is not a simple task and it will not sound natural. Looks that now you create a problem which you do not see now, but definetly will see on next steps, and remove initial error will be almost impossible.
What I see on your graphs say me that you need to replace ALL your VPR absorbers with the ones what will work on a problematic frequencies.
Do not kill me if I say that you need to change geometry of walls, accept the losses for building walls and specially produced but unmatching panels and start everything from the beginningIt would be really disappointing if, with such healthy budget and your very detailed approach to every nuance, your room will not be the best of the best.
My dedicated audio room build - QuadDiffusor's Big Dig
- Thread starter QuadDiffuser
- Start date
You are using an out of date browser. It may not display this or other websites correctly.
You should upgrade or use an alternative browser.
You should upgrade or use an alternative browser.
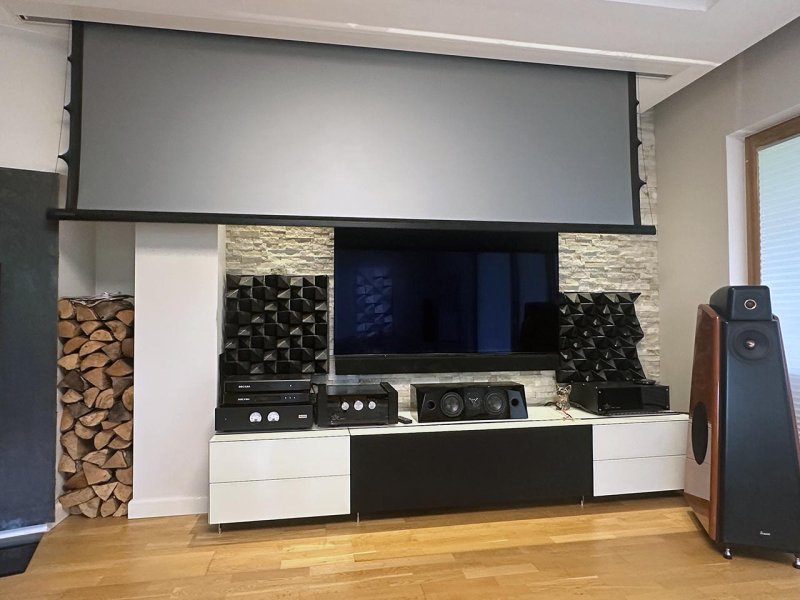
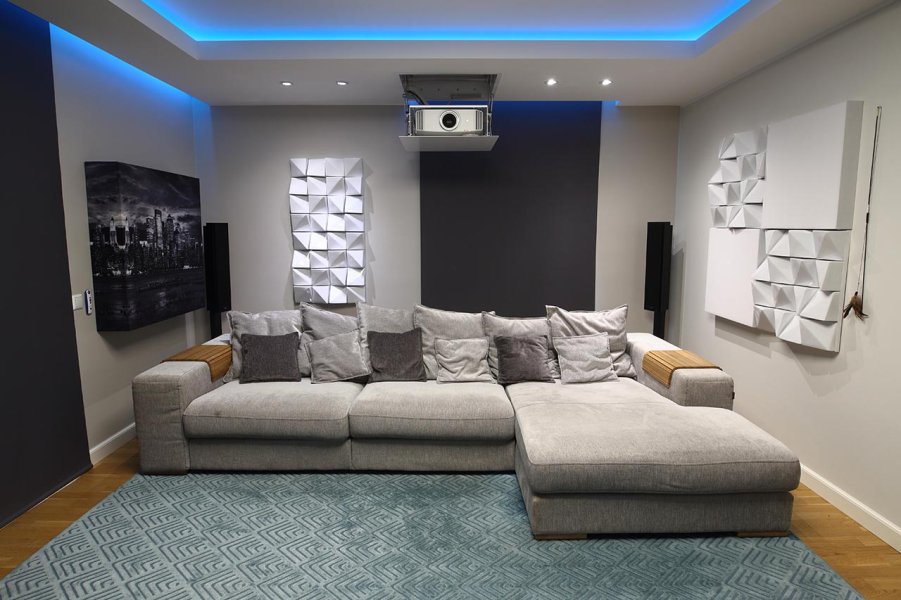
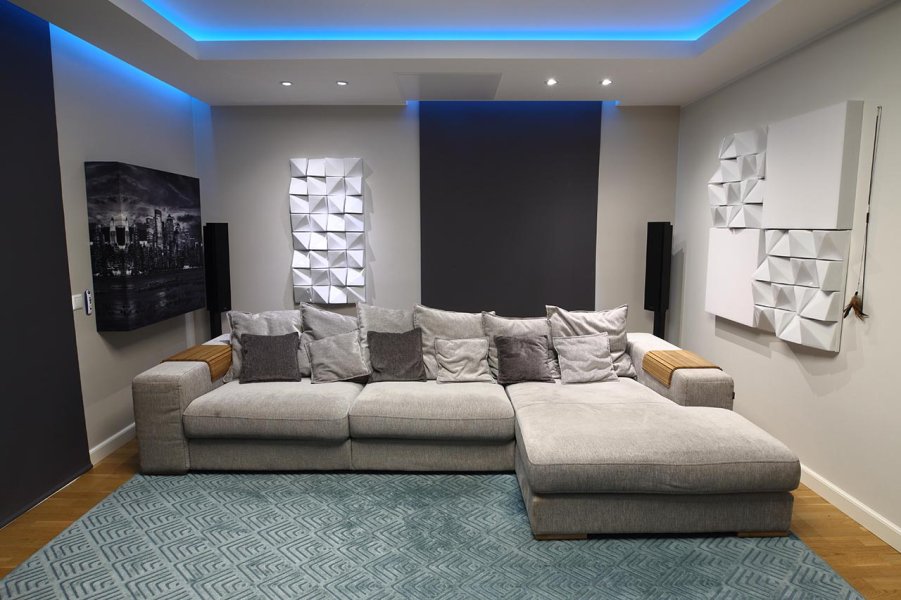
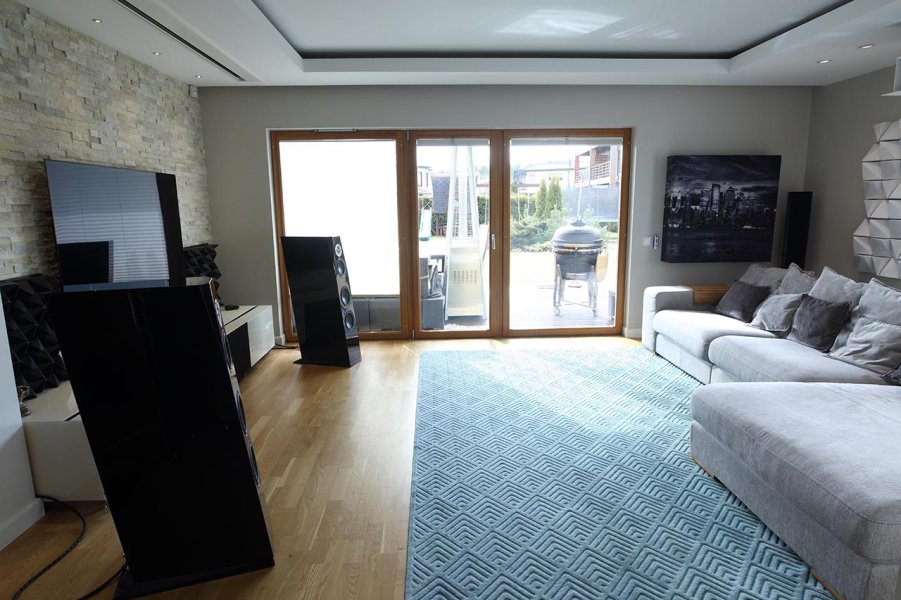
My system and room is quite simple - ordinary living room / home cinema transformer with hidden equipment (electric screen, projector in lift, electrical black-outs).Maxim, would love to see photos of your system and room.
Stereo equipment: ASR Emitter 1, Rockna Wavelight DAC + Server / Metrum Jade DAC3 with Ambre I2S / custom Audes ST-900 +100 dual transformer
Cables: DH-Labs Corona, Oyaide Vondita, Audince FronRow Speaker+RCA interconnects, Audience AV OHNO XLR, and DH Labs RedWave, Q-10, AirMatrix for HC
AV Equipment: Dune Ultra Vision 4K, Anthem AVM90 9ch Atmos with Denon POA-A1HD (hidden in Spectral Cocoon), React 3.0 135" screen and old JVC X7900 4K HDR
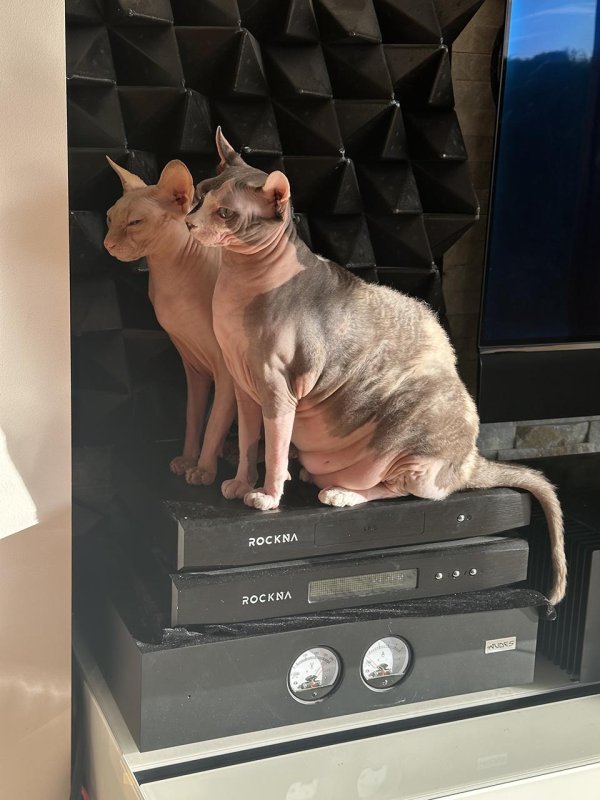
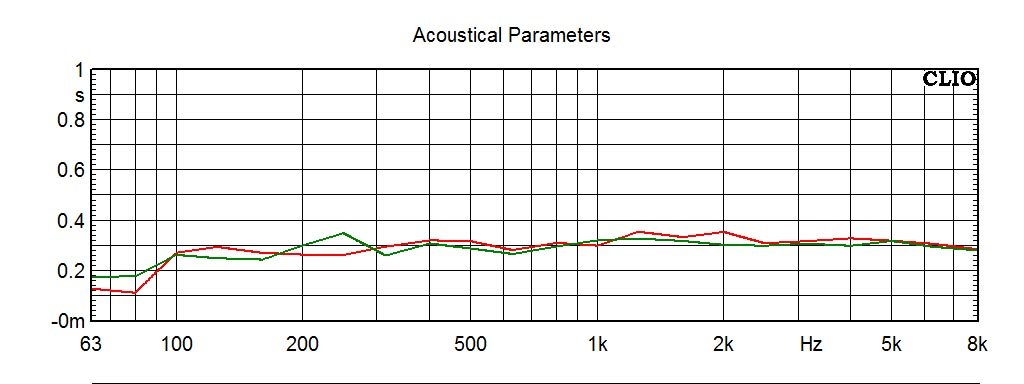
Room treatment with RT60 0.52-0,63: on-wall tuned bass trap, absorption+diffusion panels, hidden install under acoustic ceiling cloth, 2 cats - one is 100% diffusion, another 30:70 diffusion/absorption - both good heat absorbers.
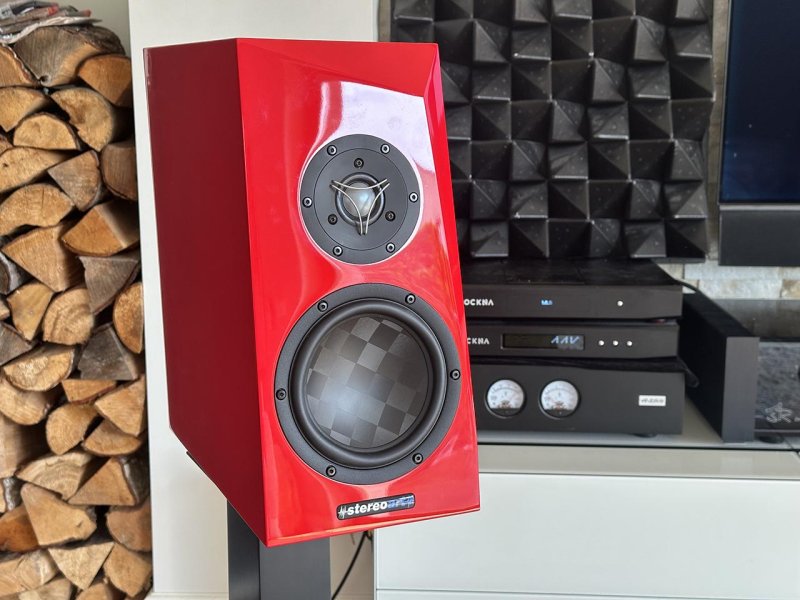
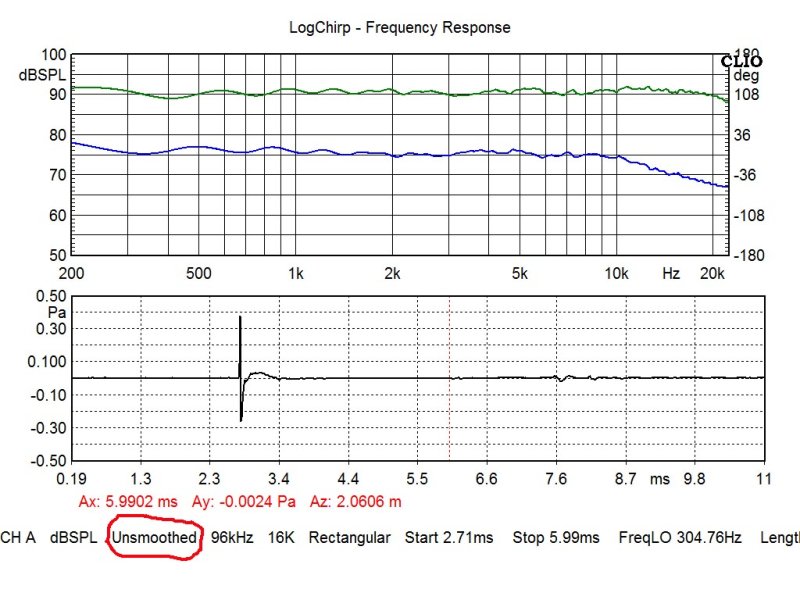
Speakers: all are with re-worked crossovers - Audes Orpheus (daily music, home cinema), and for pure stereo custom builds based on SB designs with textreme woofers and Be domes with nearly perfect frequency and phase response - see attached Clio graph.
Room Images: do not have latest, but attached may give an idea how room look like - lot of transfromations during llast time
Attachments
-
 IMG_8648.jpg171.4 KB · Views: 45
 -
 IMG_9074.JPG156.5 KB · Views: 47
 -
 MS-Acoustics-1.jpg175.9 KB · Views: 46
 -
 MS-Acoustics-2.jpg171.1 KB · Views: 44
 -
 IMG_8645.jpg170.2 KB · Views: 47
 -
 MS-Acoustics-6.jpg204 KB · Views: 45
 -
 MS-RT30-2graphs.jpg73.7 KB · Views: 44
 -
 Rinjani-TX-Be.jpg169.4 KB · Views: 45
 -
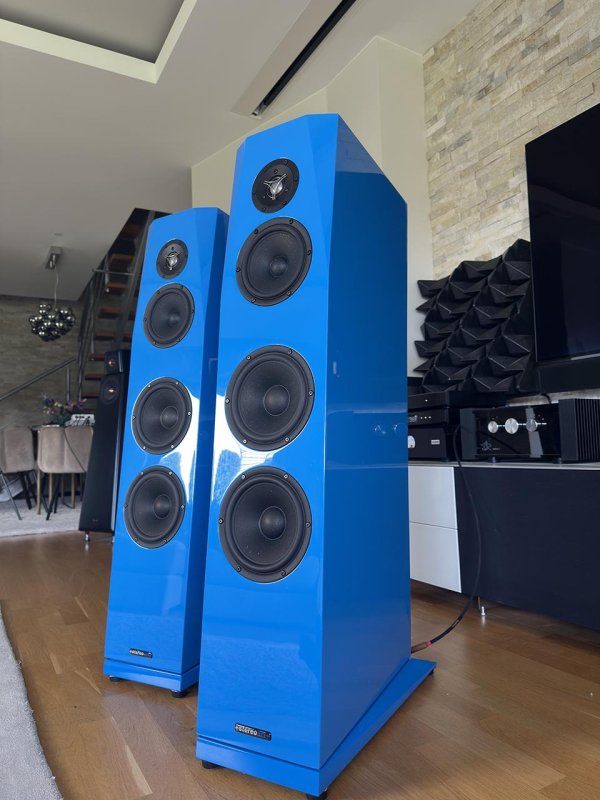 Sasandu Blue.jpg161.3 KB · Views: 46
 -
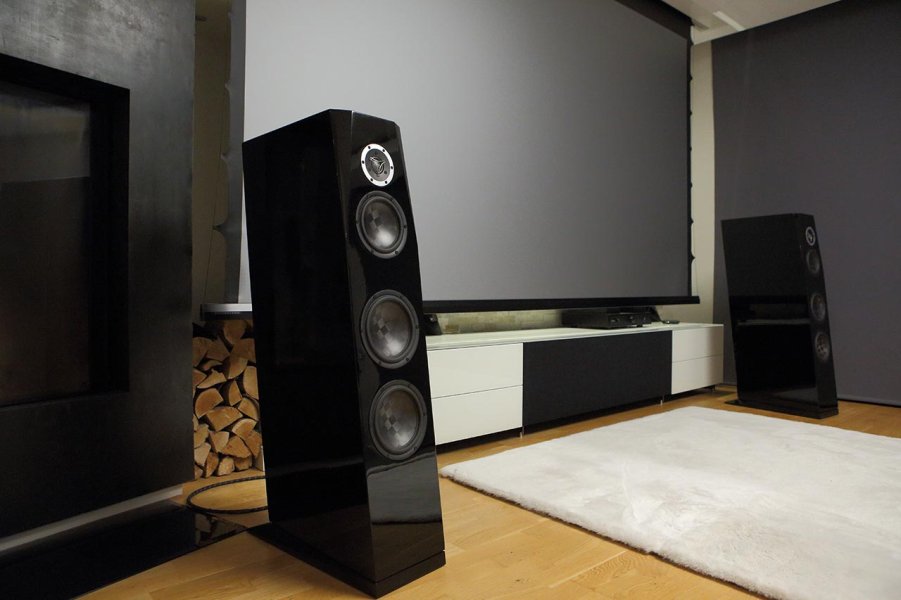 Sasandu-TX-interior-edited.jpg112.3 KB · Views: 42
Last edited:
This YouTube video is GOLDEN - EVERY WBF member should watch this!
Tom Martin's excellent 11-step guide clearly outlines the articulates the many challenges involved in designing and building a dedicated listening room (challenges which I myself have faced) and provides practical, thoughtful solutions for addressing them.
[ BTW, I prompted Microsoft CoPilot to generated a timeline for the video below, but none of it looks correct! I've included it below to demonstrate an example of AI's hallucination. To me, AI's summaries appear "stuck" in generic verbiage from the past, and does not incorporate enough of the cutting-edge observations and solutions cited by Tom. ]
Three goals to refining listening room acoustics:
1) identify acoustic consultants
2) roughly size the room, and choose room dimensions
3) choose the room orientation
4) model the room basics
5) check the budget
6) attend to details
7) noise floor & noise isolation
9) specify & install electrical wiring
10) install acoustic treatment
11) measure the result & adjust
Enjoy the video!
Tom Martin's excellent 11-step guide clearly outlines the articulates the many challenges involved in designing and building a dedicated listening room (challenges which I myself have faced) and provides practical, thoughtful solutions for addressing them.
[ BTW, I prompted Microsoft CoPilot to generated a timeline for the video below, but none of it looks correct! I've included it below to demonstrate an example of AI's hallucination. To me, AI's summaries appear "stuck" in generic verbiage from the past, and does not incorporate enough of the cutting-edge observations and solutions cited by Tom. ]
- 0:00 – Introduction Presenter explains the motivation for building a dedicated listening room and outlines the goals.
- 1:30 – Room Dimensions Why avoiding square/cube-shaped rooms matters; examples of proportion ratios that minimize resonances.
- 3:15 – Orientation Choices Long-wall vs. short-wall setups, with pros/cons for imaging and bass response.
- 6:00 – Acoustic Modeling Demonstration of REW simulations and how modal behavior is predicted before construction.
- 9:45 – Electrical Planning Hospital-grade outlets, isolated circuits, and consistent wiring for clean power.
- 12:20 – Walls and Ceilings Double drywall, staggered studs, ceiling height adjustments to reduce vibration and improve isolation.
- 15:40 – Bass Management Bass traps, diaphragmatic absorbers, and pressure relief strategies explained with visuals.
- 19:10 – Absorption Panels Placement behind speakers and listening position to tame early reflections.
- 22:00 – Diffusion Treatments Behind the listener and ceiling areas to add spaciousness without deadening the sound.
- 25:30 – Speaker Placement Toe-in, equilateral triangle setup, and Jim Smith’s 0.83 rule demonstrated.
- 28:50 – Listening Position Shows how moving the chair even a few inches changes imaging and tonal balance.
- 32:00 – Iterative Refinement Encourages ongoing measurement, listening, and adjustment as the room evolves.
Three goals to refining listening room acoustics:
- Improved tonal balance
- Improved musical definition (or clarity)
- Improved imaging
1) identify acoustic consultants
2) roughly size the room, and choose room dimensions
3) choose the room orientation
4) model the room basics
5) check the budget
6) attend to details
7) noise floor & noise isolation
- noise from adjacent rooms that share a wall
- external noise from traffic or adjacent properties
- noise generated by the music in the room that is returned to the room
9) specify & install electrical wiring
10) install acoustic treatment
11) measure the result & adjust
Enjoy the video!
Last edited:
Watched this yesterday; I agree on it's well organized, methodical approach. Personally, I find it quite useful to have this process (something I think many audiophiles have contemplated) codified in such a coherent manner. It does not surprise me that you found the guide thoughtful and practical.Tom Martin's excellent 11-step guide on what's important in designing and building a dedicated listening room - highly recommended! He articulates the myriad issues I also wrestled with and offers practical guidance on how to solve them.
[ BTW, Microsoft CoPilot's generated a timeline for the video below, but none of it looks correct! I've included it below to demonstrate an example of AI's hallucination. To me, AI's summaries appear "stuck" in generic verbiage from the past, and does not incorporate enough of the cutting-edge observations and solutions cited by Tom. ]
- 0:00 – Introduction Presenter explains the motivation for building a dedicated listening room and outlines the goals.
- 1:30 – Room Dimensions Why avoiding square/cube-shaped rooms matters; examples of proportion ratios that minimize resonances.
- 3:15 – Orientation Choices Long-wall vs. short-wall setups, with pros/cons for imaging and bass response.
- 6:00 – Acoustic Modeling Demonstration of REW simulations and how modal behavior is predicted before construction.
- 9:45 – Electrical Planning Hospital-grade outlets, isolated circuits, and consistent wiring for clean power.
- 12:20 – Walls and Ceilings Double drywall, staggered studs, ceiling height adjustments to reduce vibration and improve isolation.
- 15:40 – Bass Management Bass traps, diaphragmatic absorbers, and pressure relief strategies explained with visuals.
- 19:10 – Absorption Panels Placement behind speakers and listening position to tame early reflections.
- 22:00 – Diffusion Treatments Behind the listener and ceiling areas to add spaciousness without deadening the sound.
- 25:30 – Speaker Placement Toe-in, equilateral triangle setup, and Jim Smith’s 0.83 rule demonstrated.
- 28:50 – Listening Position Shows how moving the chair even a few inches changes imaging and tonal balance.
- 32:00 – Iterative Refinement Encourages ongoing measurement, listening, and adjustment as the room evolves.
Last edited:
The first QRD was trial mounted on the horizontal wall rail. Dimensional accuracy and consistency were very important, as each of the six Z-clips needed to be aligned, drilled, mounted and spaced within 1mm precision.
Judging by how there wasn't the slightest amount of jiggle, rattle, or shifting of the 110kg P17 QRD when my acoustic consultant levered 80kg of his body weight on the most vulnerable upper/outer edge, I'd say that the design, procedure and process was a success!


Judging by how there wasn't the slightest amount of jiggle, rattle, or shifting of the 110kg P17 QRD when my acoustic consultant levered 80kg of his body weight on the most vulnerable upper/outer edge, I'd say that the design, procedure and process was a success!
Last edited:
Are those slippers with toecaps in the socks?
Novel!
Novel!
Everything is NextLevel on this jobAre those slippers with toecaps in the socks?
Novel!
Three more P17 QRDs were mounted by lunchtime, and two more in the afternoon.
The tally now is six!
Quite pleased with the dimensional accuracy of the modules, with 4-6mm of spacing maintained without any clashing (so far).
My plan is to stuff the voids with black foam later, to make the gaps relatively invisible.


The tally now is six!
Quite pleased with the dimensional accuracy of the modules, with 4-6mm of spacing maintained without any clashing (so far).
My plan is to stuff the voids with black foam later, to make the gaps relatively invisible.
Last edited:
...do you think the RH will change much seasonally, QD? Having that small gap could be useful. Although a foam-type expansion joint filler would still allow that. Nice they shipped with those foam inserts between the "fins" to keep things safe. Per usual, you've managed the details.
Incoming hot and humid tropical climate "fresh" outdoor air (fed from the elbow inlet located above on Level 1) first passes through a dehumidifier/pre-cooler, before being fed into the air conditioner modules, which will further cool and (through condensation) dry the air. The aircon will of course be switched off when the basement is unoccupied, but without any direct ingress of humid outside air, absolute humidity should not rise. I'll run standalone dehumidifiers, if necessary, to limit the RH to 60%.
The "20-foot underground" basement will be exceptionally well insulated, having thick concrete reinforced walls surrounded by soil. Unlike the upper floors' exposed exterior walls warmed by sunshine during the day, there will be no latent heat stored in the basement walls.
Thus, variance in both relative humidity and temperature in the listening room should be minimal. My guess is that RH and temperature will stay within a range 40 to 60% and 23 to 27*C.
Last edited:
Oops, perhaps because of the large physical distance between the basement and the attic on Level 4, I neglected to mention that solar panels have been installed on the roof.
This grid tied system has only been running for two weeks, so I don't have data on what the average month's power generation might be. So far, the best (and sunniest) day has generated 88.19 kWh of total power (see green graph below).
The bi-directional power meter has not yet been installed, so I'm not being credited for surplus power which has been fed back into the grid.
I'll be investigating the DC to AC inverter's contribution to raising the household electricity's sinewave distortion. Pre-solar inverter, the %THD ranged from 1.8% to 2.1% (depending on the location of the AC socket within the house) during nighttime, and 1.3% to 1.5% during daytime. I'm expecting the inverter to add perhaps 0.2% to 0.5% of THD during the daytime, but perhaps I'll be pleasantly surprised!
Last edited:
It’s nice to see the aesthetic of the room start to emerge with the installation of the first QRDs. It’s going to be a visually, as well sonically, stunning place for music.Three more P17 QRDs were mounted by lunchtime, and two more in the afternoon.
The tally now is six!
Quite pleased with the dimensional accuracy of the modules, with 4-6mm of spacing maintained without any clashing (so far).
My plan is to stuff the voids with black foam later, to make the gaps relatively invisible.
View attachment 163218
View attachment 163219View attachment 163220
Similar threads
- Replies
- 39
- Views
- 4K
- Replies
- 4
- Views
- 876
- Replies
- 0
- Views
- 895
- Replies
- 7
- Views
- 1K
- Replies
- 30
- Views
- 1K
| Steve Williams Site Founder | Site Owner | Administrator | Ron Resnick Site Owner | Administrator | Julian (The Fixer) Website Build | Marketing Managersing |