The Doctor is happy to report that the surgery was a success and the CHP Master DAC and Conductor are now playing. The procedure was as follows: The existing DAC was opened and two digital cards were removed and replaced with two analog cards from the new module. What was the C10 DAC became the Conductor. The digital cards were then installed in the new module which became the CHP C10 "Master" DAC. A firmware update was performed and the units placed in their spots in my racks. We took ESD precautions by performing all operations on an ESD mat with the operator wearing a wrist strap to prevent discharges. The process was well documented by CHP and easy to perform (with the able help of Ron Buffington from Liquid HiFi). Here are some pics of the operation.
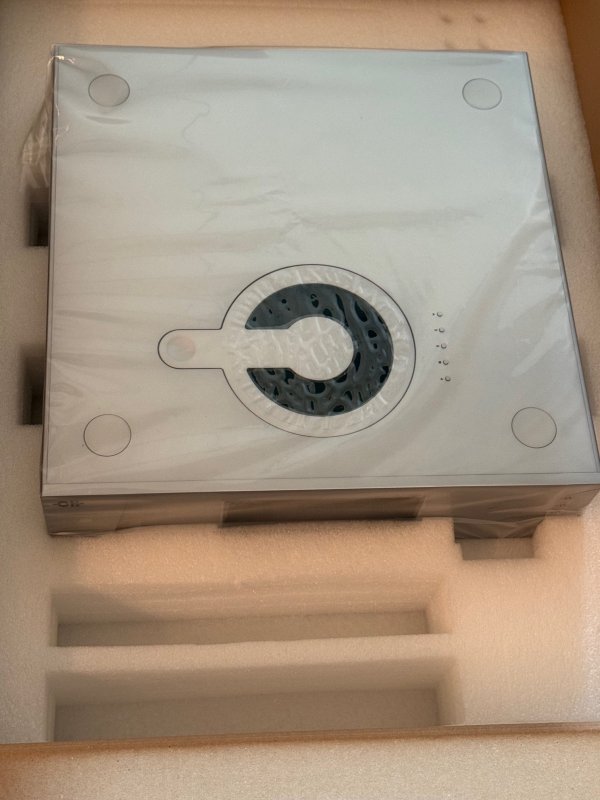
First we prepped the units by placing them side by side and removing the back and bottom screws that retained the unit covers.
View attachment 157779
After the covers were off we removed, we released the two (L/R) analog and digital board retainers, unplugged one ribbon cable for each card, slid them out of the chassis and completed the swap. In the picture below you can see how the cards were oriented. They run from left to right inside the red components mating to a transverse motherboard. The second and third pictures show the chassis's to both units with the cards removed prior to the swap.
View attachment 157780
View attachment 157781
View attachment 157782
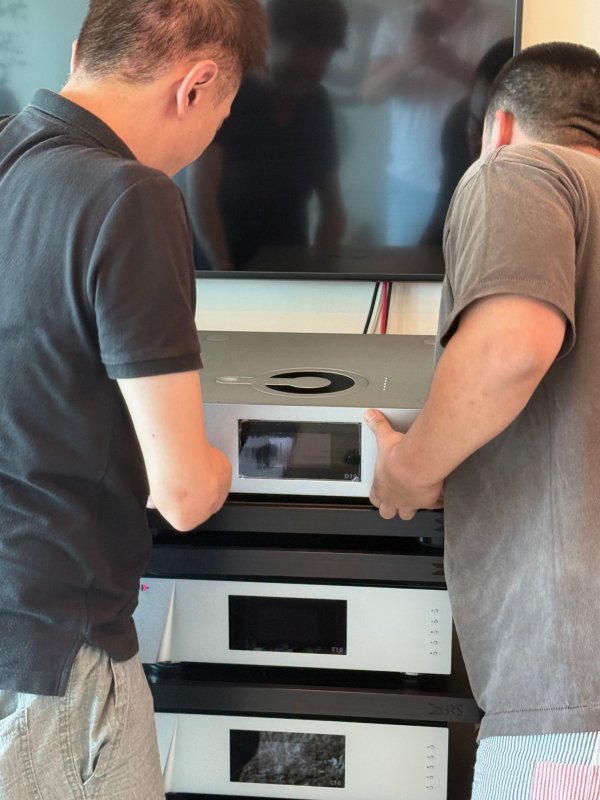
After the swap, we replaced the covers and screws and wired them up in my room. The USB input from the Server now went to the Conductor. The Conductor has its own power supply which feeds left and right channels. The Master DAC is connected to the Conductor with two "CH LinK" cables that are unique to CH Precision products. They were of excellent quality and generous length permitting us to arrange the modules as we desired. The Master DAC outputs were XLR connections to the L10 PreAmp.
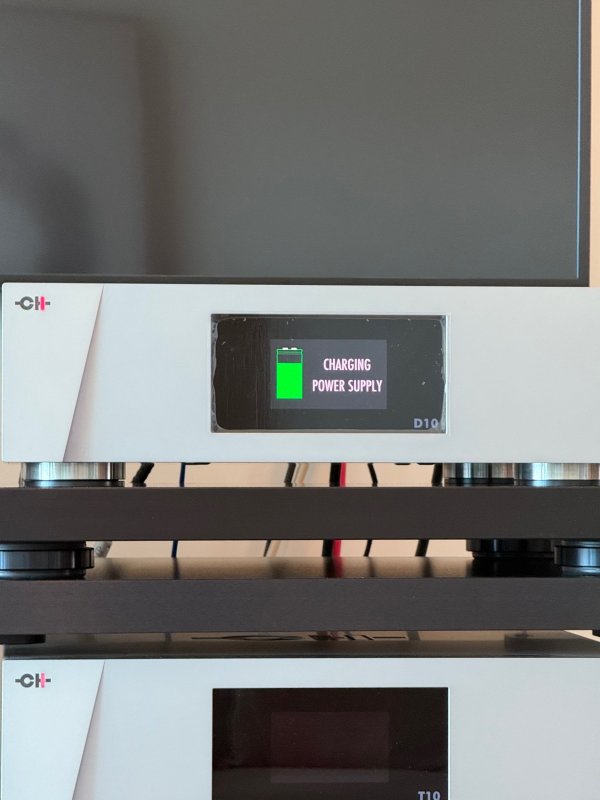
Next up was the firmware upgrade for both units. This was accomplished by inserting a small USB plug into the Conductor, pressing a combination of power buttons and standing back to watch. Multiple loads of firmware for display functions, DAC and Conductor were loaded sequentially without incident. Well Done CHP! This was unexpectedly easy.
After the units were ready, we fired up the T10 Clock, L10 Pre and M10 Power amp and beautiful music was available. Relief! I have to admit I was anxious about performing open heart surgery on these two units but good planning, good instructions and Ron's assistance made it seem simple. I played the units overnight to start a break-in.
View attachment 157783
The fact that the umbilicals provided were generous in length permitted us to put the two power supplies for Conductor and Master DAC on the bottom two shelves the right rack with the T10 Clock above. The Conductor is on the top shelf in the center with the Master DAC below it and the L10 and its Power Supply on the bottom two shelves. My Pink Faun Ultra Server and CAD grounding system are located on the left rack.
Next up is adding the additional power supply to the Master DAC to create a Mono configuration and a few months after that adding a second M10 and Supply to make them mono blocks. It was a long day but the results are worth it. Many thanks to Ron for his willingness to travel to my house and accomplish this installation and congratulations to CH Precision for making the modification easy to perform through solid engineering and documentation.
Cincy