Hello!
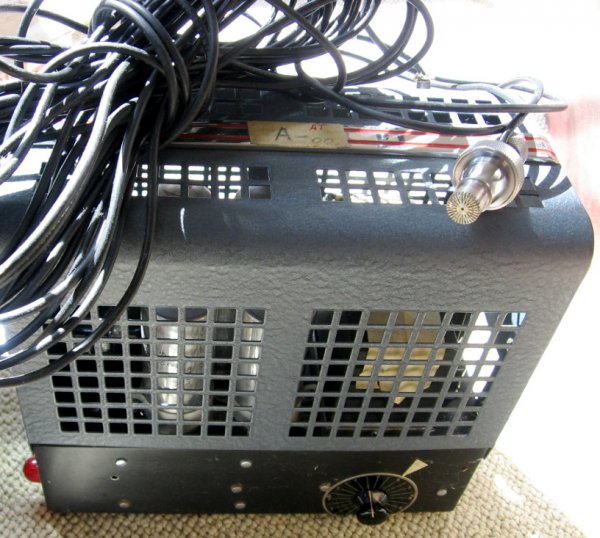
I have been still very much enjoying both tape and the King/Cello tape stage. Last week I finally dove inside the box to have a look around. I am a bit embarrassed that I did not open it sooner - on the gear I build and sell I always wanted to put stickers on that read "Warranty Void If This Seal Is NOT Broken" to encourage folks to at least have a peek inside and maybe play a bit with mods, etc.
I popped the top intending to scope out the coupling cap sizes as I had read of folks swapping caps as a mod. Tracing it out is seemed there were 3 coupling caps in parallel at the input and none at the output. The 3 input caps were a 470uF electrolytic and a small film bypass on that along with a 1uF film. Here is the exchange with Charlie slightly edited for clarity and posted with his permission:
From Charlie:
"
The "mid-sized" paralleled cap - probably around 1 ufd is the one I "play with" - of course you can do whatever you like. I put in as large a value I can consistent with it "fitting under the hood". I have fitted close to a 1uf gold/silver/oil Mundorf - haven't tried a Duelund or Clarity or whatever else cap yet - too expensive - but you are welcome to do that and PLEASE REPORT your findings.
"
From me:
"
Thanks for the info. Will play and report back. I have to ask if we need anything from the tape heads? Would there be any DC to block or any other reason to use one there circuit wise? Is there a potential DC offset at the input to the tape stage that could be a problem for the heads maybe? Will report back after I play in any case.
"
From Charlie:
"
Cello started with no input cap but added one later on. With a scope I observed a "switching on" voltage transient which while not severe to damage anything could magnetize the head after a while so i didn't think it prudent to eliminate it. You could try it just demag the heads - or leave the unit on
"
From me:
"
Well I gave myself the day off yesterday or the afternoon off anyway. I had been meaning for so long to dive inside the tape stage but other stuff always seems to fill up the days..... Here are a few notes on stage 1 of the playing:
1- After your later e-mails I thought I may get away with no cap. A quick check revealed that we have about 150mV of dc offset at the input to the circuit. Although the turn on transient you mention could be handled with a delay switch or relay, etc this constant offset would be a problem for the heads I think. It is higher than I ever would want to run our attenuator autoformers for instance. It could be possibly tuned out by playing with supply rail voltage matching but that would be a bit tenuous as it could drift over time so a cap (or some way to isolate the heads) is indeed needed.
2- I put the unit on the Audio Precision here. It was fun to see the tape curve and the phono curve. Tape is a much simpler correction curve - I am sure you guys know this but it was interesting to see. Both channels match very well and THD was very low. It was 0.09% typically but with such small input voltages (1 to 2 mV depending on what I was looking at) that is very good as the noise floor is creeping in big time with only those small signal levels at play.
3- First thing I did was pull the 470uF electrolytic cap and it's small bypass cap on one side. The Cello guys would run circles around me design wise but I have not used polar electrolytics as coupling caps like that (could be that 150mV DC offset is there to bias that cap?) so I was curious how removing it would change things. Also I have always preferred a single decent cap to a nest of various values. Popped it back on the test gear and both sides (with and without that cap) still measured identical right down to 10Hz. This was good. I was specifically watching for low frequency rolloff when reducing that coupling cap but saw none.
4- Next I swapped a 0.47 uF V-cap in that side. These were the only decent caps I had handy. Still measured identical. Good again. Swapped out the other side and all still fine.
I installed it back in the system and one tape later (edit - now several tapes later) it is sounding very good. I am afraid I am the worst guy in the world at making sonic comparisons so I won't even try to compare to stock. Years back I spent a great deal of time making comparisons while designing gear and it burned out that section of my brain..... I will leave it like this for a time and then get used to it before swapping in some mundorfs and maybe the new copper V-caps but will do my best to report on sonics at that point. I am left curious just how low we could go in value - next time I have it out I will play with some smaller values to check that affect that'll have on the curves.
"
End of e-mail exchange.
Anyway - I thought it might be of interest and was also curious what others have found when swapping these coupling caps.
Thansk!
John
")