Last weekend, the air-bearing kit I ordered a few months ago arrived. I spent a few hours to read the manual and to assemble the kit. But actually, it was not so complicated. I was just over-cautious not to do anything stupid to handle this heavy upgrade.
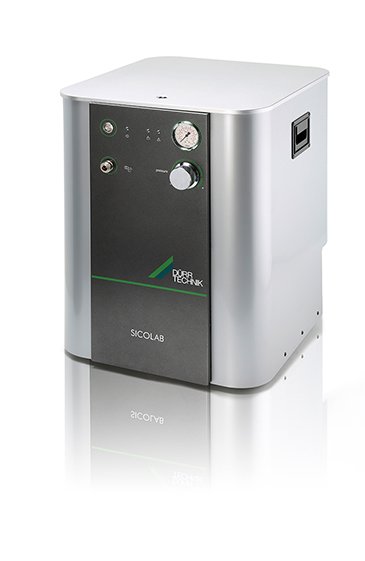
In the package, there’re an air compressor, 2 PVC bottles to contain waters and wastes extracted from the air compression process and a double bottle air buffer to maintain a smooth air supply to the turntable.
What I needed to do is only to add oil into the compressor, connect the air pipes. All are straightforward to set up the compressor and the connection.
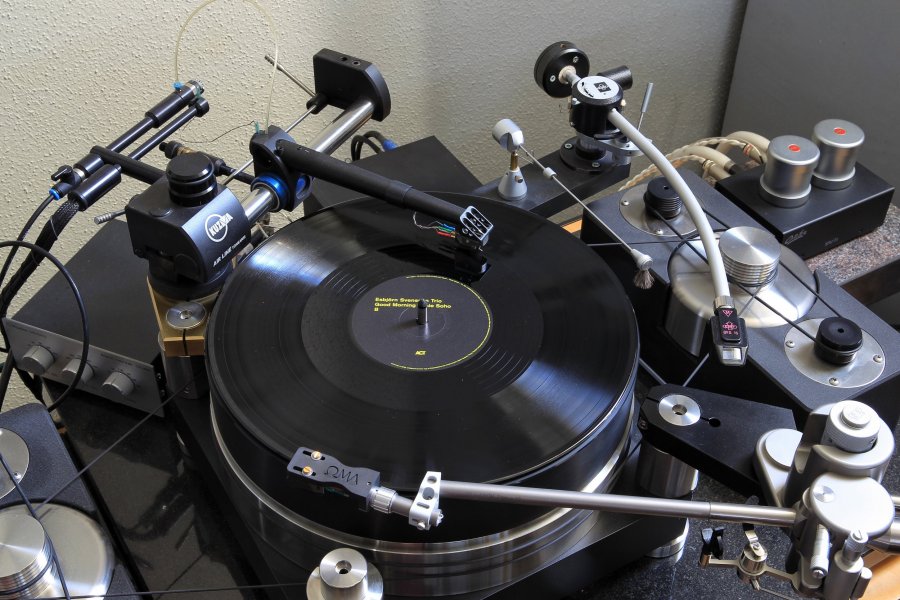
The challenging part comes from removing the original pivot bearing and replacing it with the air bearing parts. It is a lot of labor work to unscrew the pivot bearing, separate it from the base and fasten the air-bearing onto the base. All needs to be done with super cautiousness since I don’t want to scratch the surface of the TT.
There’s an important procedure to respect: set up the air supply first, float the bearing mechanism and then trying to mount the 2 platters, a new bronze platter+the original compounded platter. Without the air bearing, it is impossible to assemble the 2 platters properly since they don’t rotate and it will possibly damage the motor when it tries to generate a lot of torque to spin the table.
So here’re the workflow for people who’s interested to upgrade to air bearing:
1. Unpack everything and lay them out’
2. Replace the pivot bearing part with air bearing, this needs some subtle strength and skills (most challenging part);
3. Add oil to the compressor (be mindful of models of compressors. They have different ways to add oil) The main manual advises no need to read the manual of the compressor but actually you need to read it to understand how to add oil;
4. Connect the PVC bottles to the compressor
5. Connect the air buffer bottles and connect to the compressor and the turntable, keeping the 2 valve closed;
6. Open the compressor and let it reach the desired pressure;
7. Open the 2 valves to float the air bearing;
8. Install the belt and place the motor;
9. Mount the additional Bronze platter and then mount the original platter;
10. Following instructions to finish the setup;
Make sure the pressure at the turntable (indicator on the TT) is at the right level 3.5-4bar and you’re good to go;


In the package, there’re an air compressor, 2 PVC bottles to contain waters and wastes extracted from the air compression process and a double bottle air buffer to maintain a smooth air supply to the turntable.
What I needed to do is only to add oil into the compressor, connect the air pipes. All are straightforward to set up the compressor and the connection.
The challenging part comes from removing the original pivot bearing and replacing it with the air bearing parts. It is a lot of labor work to unscrew the pivot bearing, separate it from the base and fasten the air-bearing onto the base. All needs to be done with super cautiousness since I don’t want to scratch the surface of the TT.
There’s an important procedure to respect: set up the air supply first, float the bearing mechanism and then trying to mount the 2 platters, a new bronze platter+the original compounded platter. Without the air bearing, it is impossible to assemble the 2 platters properly since they don’t rotate and it will possibly damage the motor when it tries to generate a lot of torque to spin the table.
So here’re the workflow for people who’s interested to upgrade to air bearing:
1. Unpack everything and lay them out’
2. Replace the pivot bearing part with air bearing, this needs some subtle strength and skills (most challenging part);
3. Add oil to the compressor (be mindful of models of compressors. They have different ways to add oil) The main manual advises no need to read the manual of the compressor but actually you need to read it to understand how to add oil;
4. Connect the PVC bottles to the compressor
5. Connect the air buffer bottles and connect to the compressor and the turntable, keeping the 2 valve closed;
6. Open the compressor and let it reach the desired pressure;
7. Open the 2 valves to float the air bearing;
8. Install the belt and place the motor;
9. Mount the additional Bronze platter and then mount the original platter;
10. Following instructions to finish the setup;
Make sure the pressure at the turntable (indicator on the TT) is at the right level 3.5-4bar and you’re good to go;